How to setup a Tomcat Server on AWS EC2 Instance
DevOps Series (Part-5)


Table of contents
What is Tomcat?
The Apache Software Foundation created the open-source application server called Apache Tomcat or just Tomcat. Tomcat is a widely used, open-source servlet container that provides a reliable and scalable environment for deploying Java-based web applications. Java Servlet, JavaServer Pages (JSP), Java EL (Expression Language), and WebSocket are among the Java EE (Java Platform, Enterprise Edition) specifications that it implements.
Developers frequently use Apache Tomcat to manage static content and serve as a reverse proxy when working with the Apache HTTP Server or other web servers. With the web server handling static content and handling incoming requests, this combination frees Tomcat to concentrate on executing dynamic content.
Steps to setup a Tomcat server on an EC2 Instance
Pre-Requisites
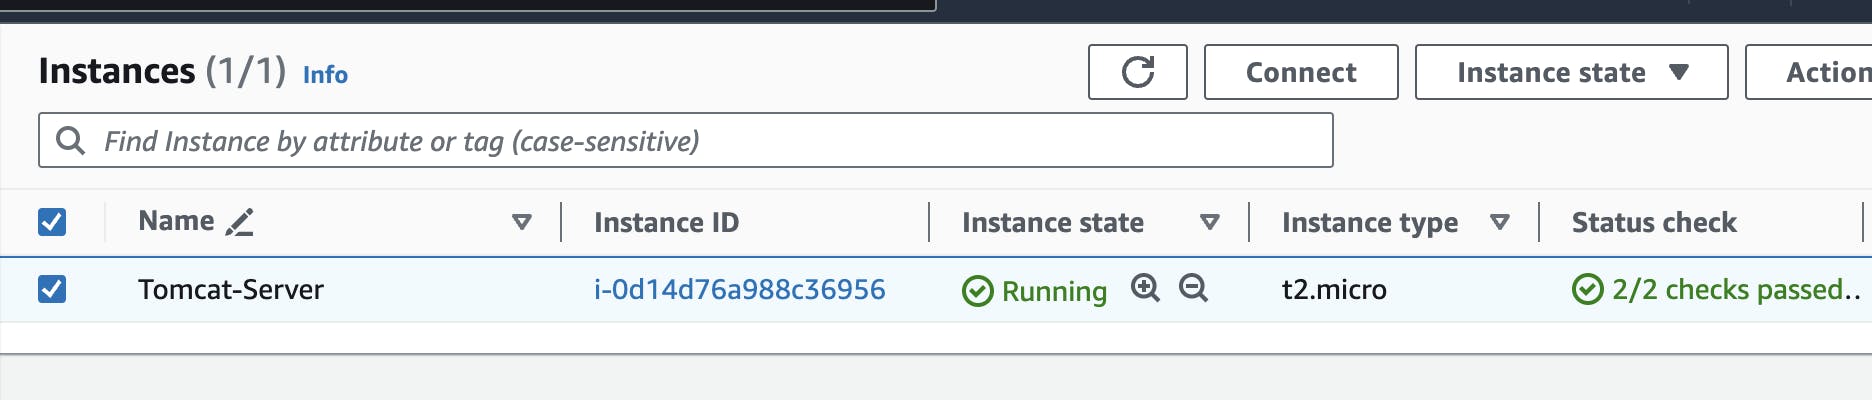
Launch an EC2 Instance, connect to it using SSH
Install Java using
 sudo apt update
 sudo apt install openjdk-17-jdk
 java -version
Install Apache Tomcat
Visit the official Apache Tomcat website to obtain the URL for the most recent version. It is available at https://tomcat.apache.org. First, change the directory to /opt, because that is where all the software installations are typically stored. Use the 'wget' command to download the Tomcat archive and extract the tar file using the 'tar' command.
 cd /opt
 wget https://downloads.apache.org/tomcat/tomcat-10/v10.1.16/bin/apache-tomcat-10.1.16.tar.gz
 tar -xvzf apache-tomcat-10.1.16.tar.gz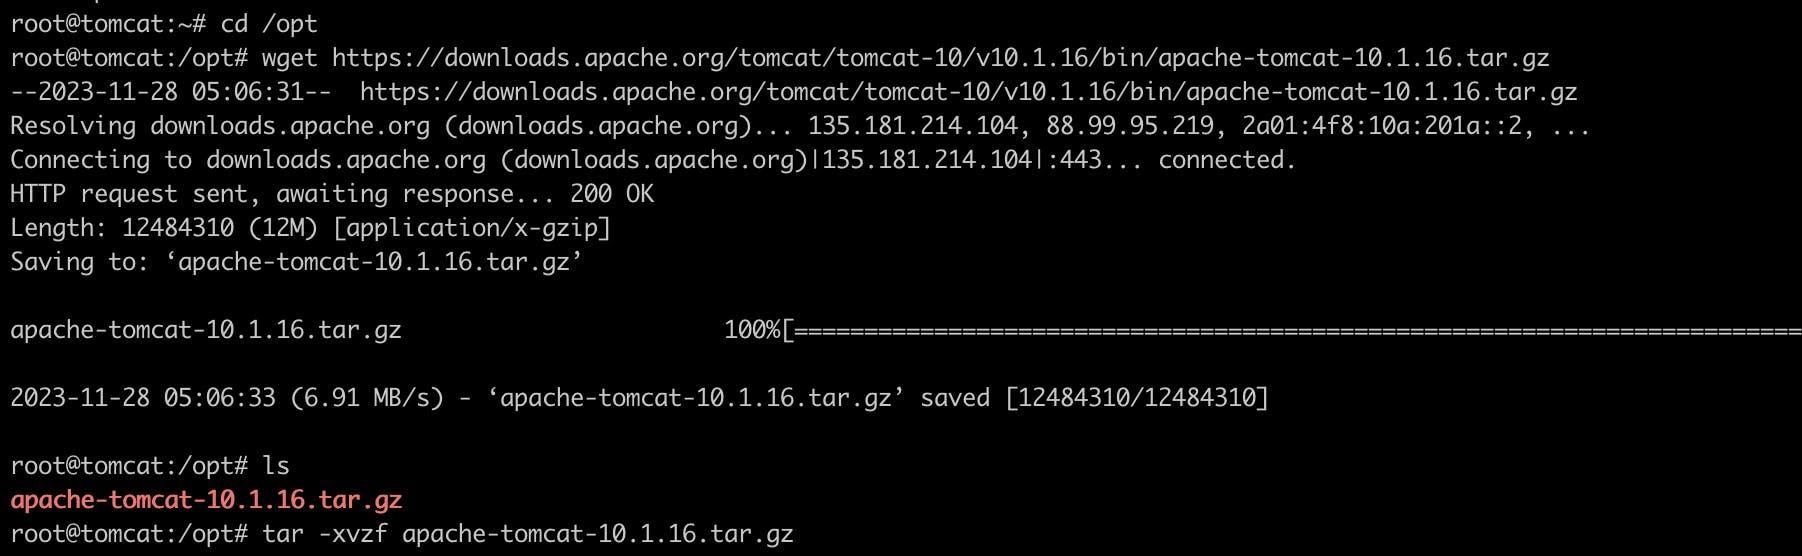

After extracting the Tomcat archive, change to the bin directory and start the Tomcat Server using the following commands (you can even see all the files present in the bin directory using the 'ls' command)
 cd apache-tomcat-10.1.16
 cd bin
 ./startup.sh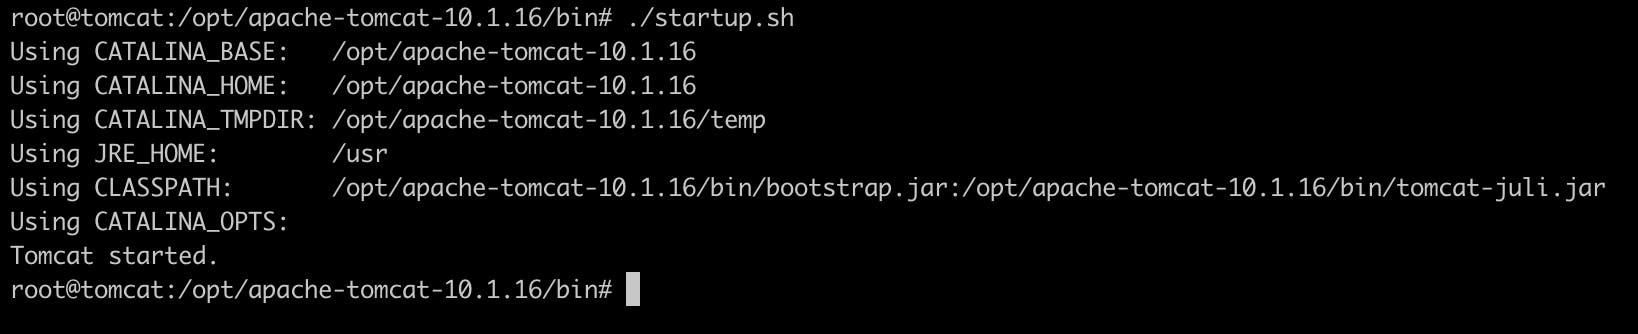
The public IP address of your EC2 instance and the default port 8080 can be used to access Tomcat in an open web browser (Note that you must update security group inbound rules and open port 8080 on your EC2 instance).

We have now successfully installed and started Apache Tomcat on the EC2 instance.
By default, we cannot log into the Manager app, it will throw an error as shown below
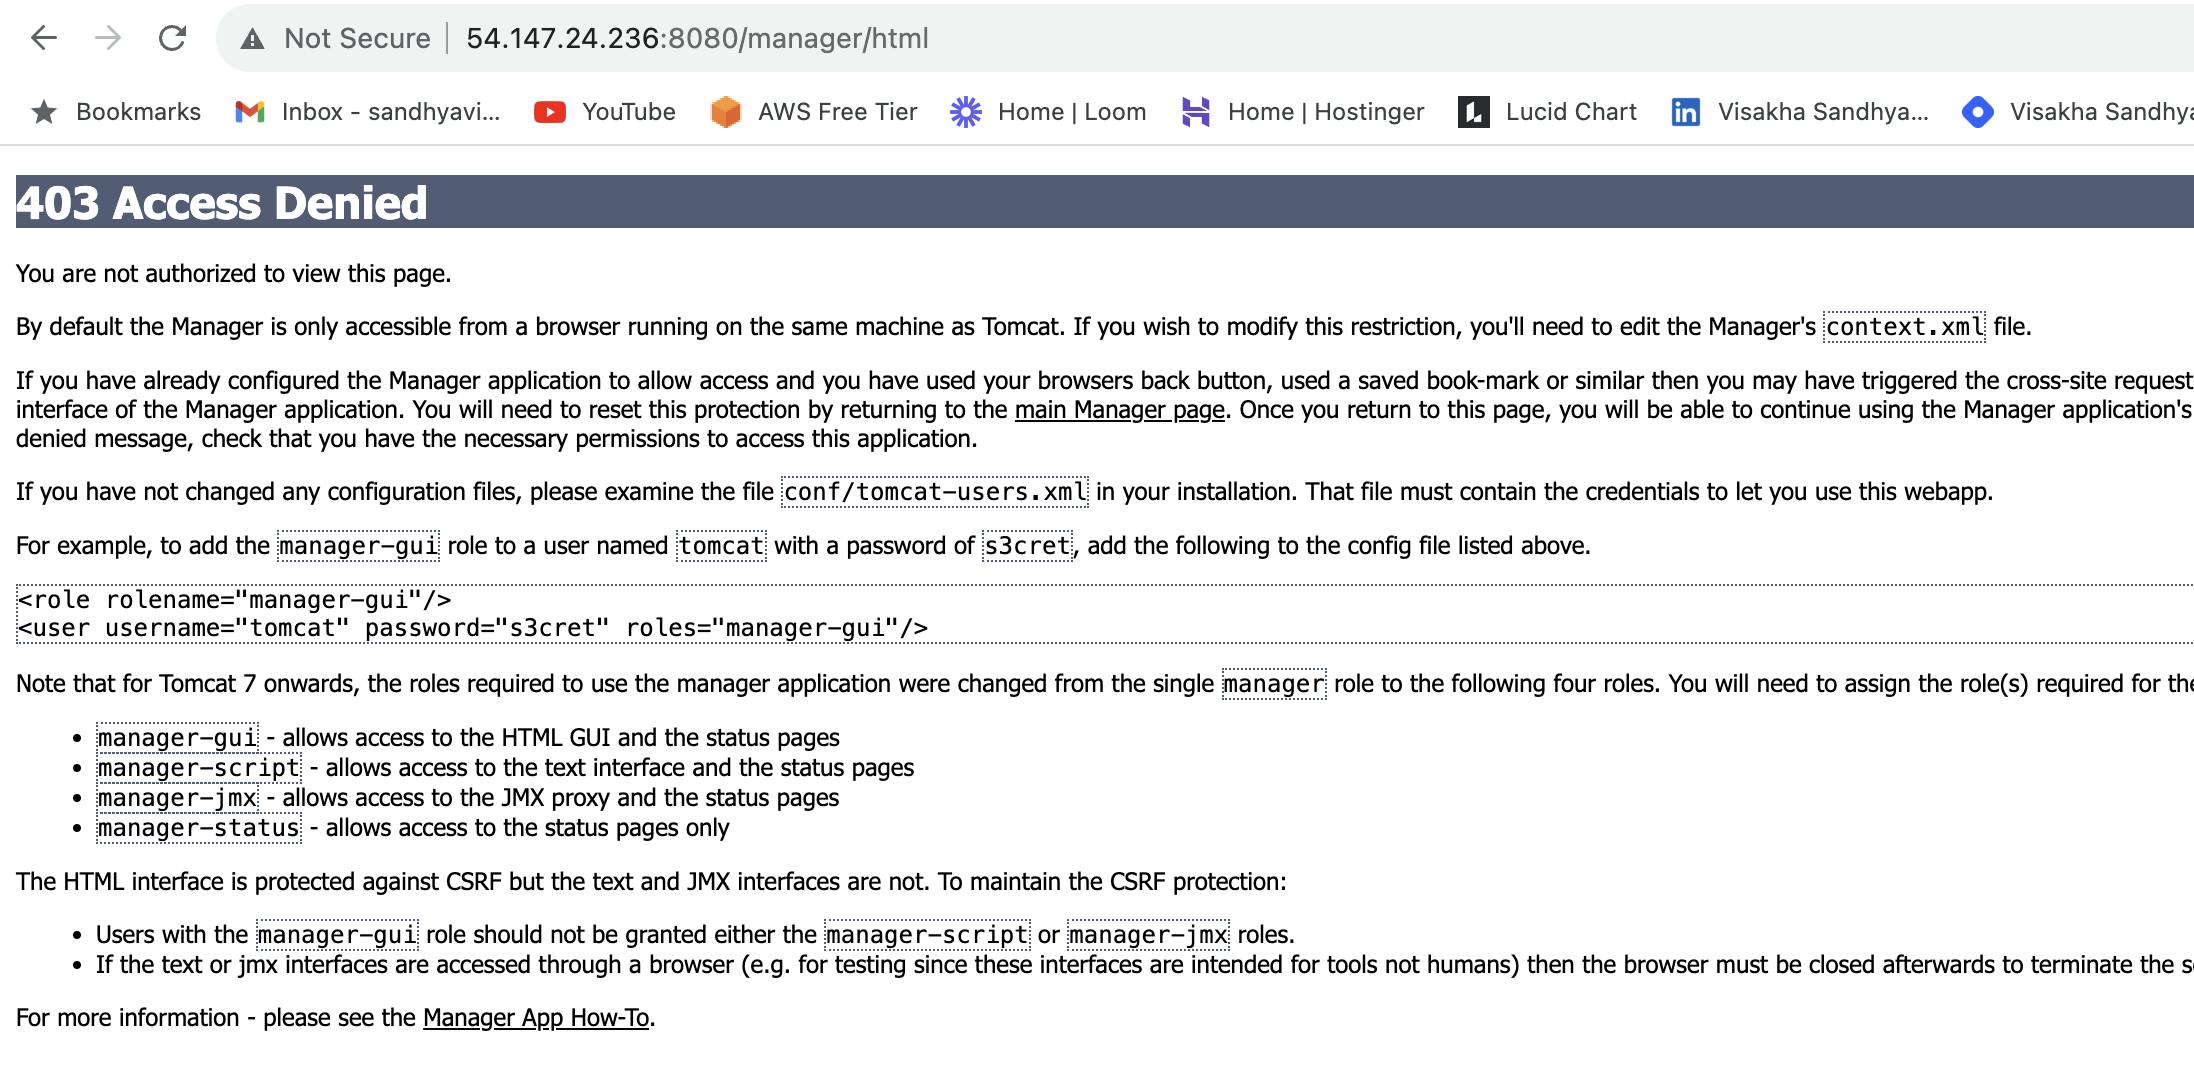
To resolve this, we will need to edit the Manager's context.xml file. Using the 'find' command, get the location of the context.xml file
find / -name context.xml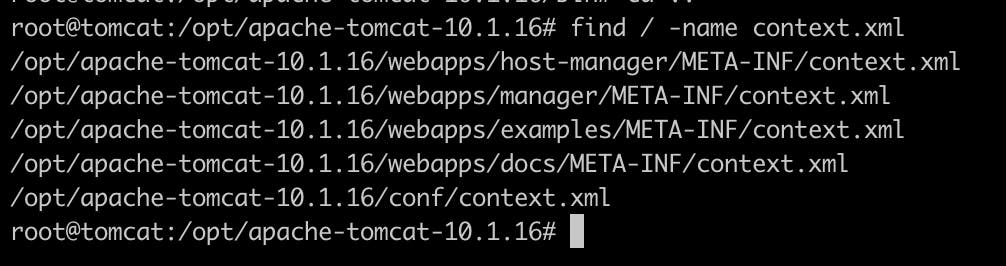
We'll need to edit the first two context.xml files that are under host-manager, and manager. Open the context.xml file, and comment on the Valve Classname line using <!-- and -->. The reason we need to do this is because by default it allows only the localhost, but we want to access it from outside (public-IP address).


Once the changes are made, go to the /bin directory, shut down, restart the Tomcat server, and try to access the manager page.
 ./shutdown.sh
 ./startup.sh
We can see the changes, but to sign in we need to configure roles and user details in the configuration file.
To configure users and roles, go into the Tomcat installation's conf directory, there should be a file called tomcat-users.xml. Add <role> and <user> elements in the tomcat-users.xml file.

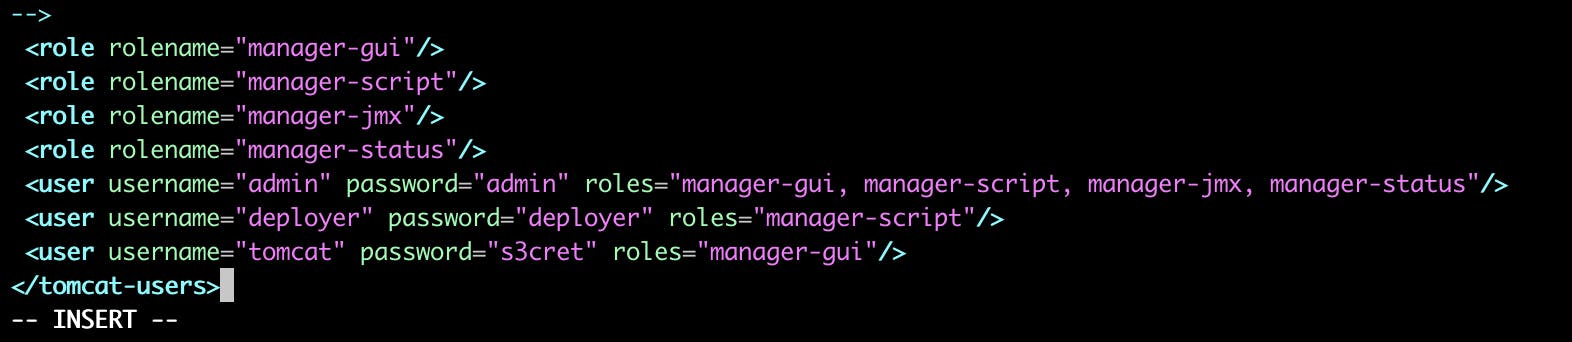
Once again, go to the /bin directory, shut down, restart the Tomcat server to apply the changes, try to access the manager page, and sign in with the user and password.
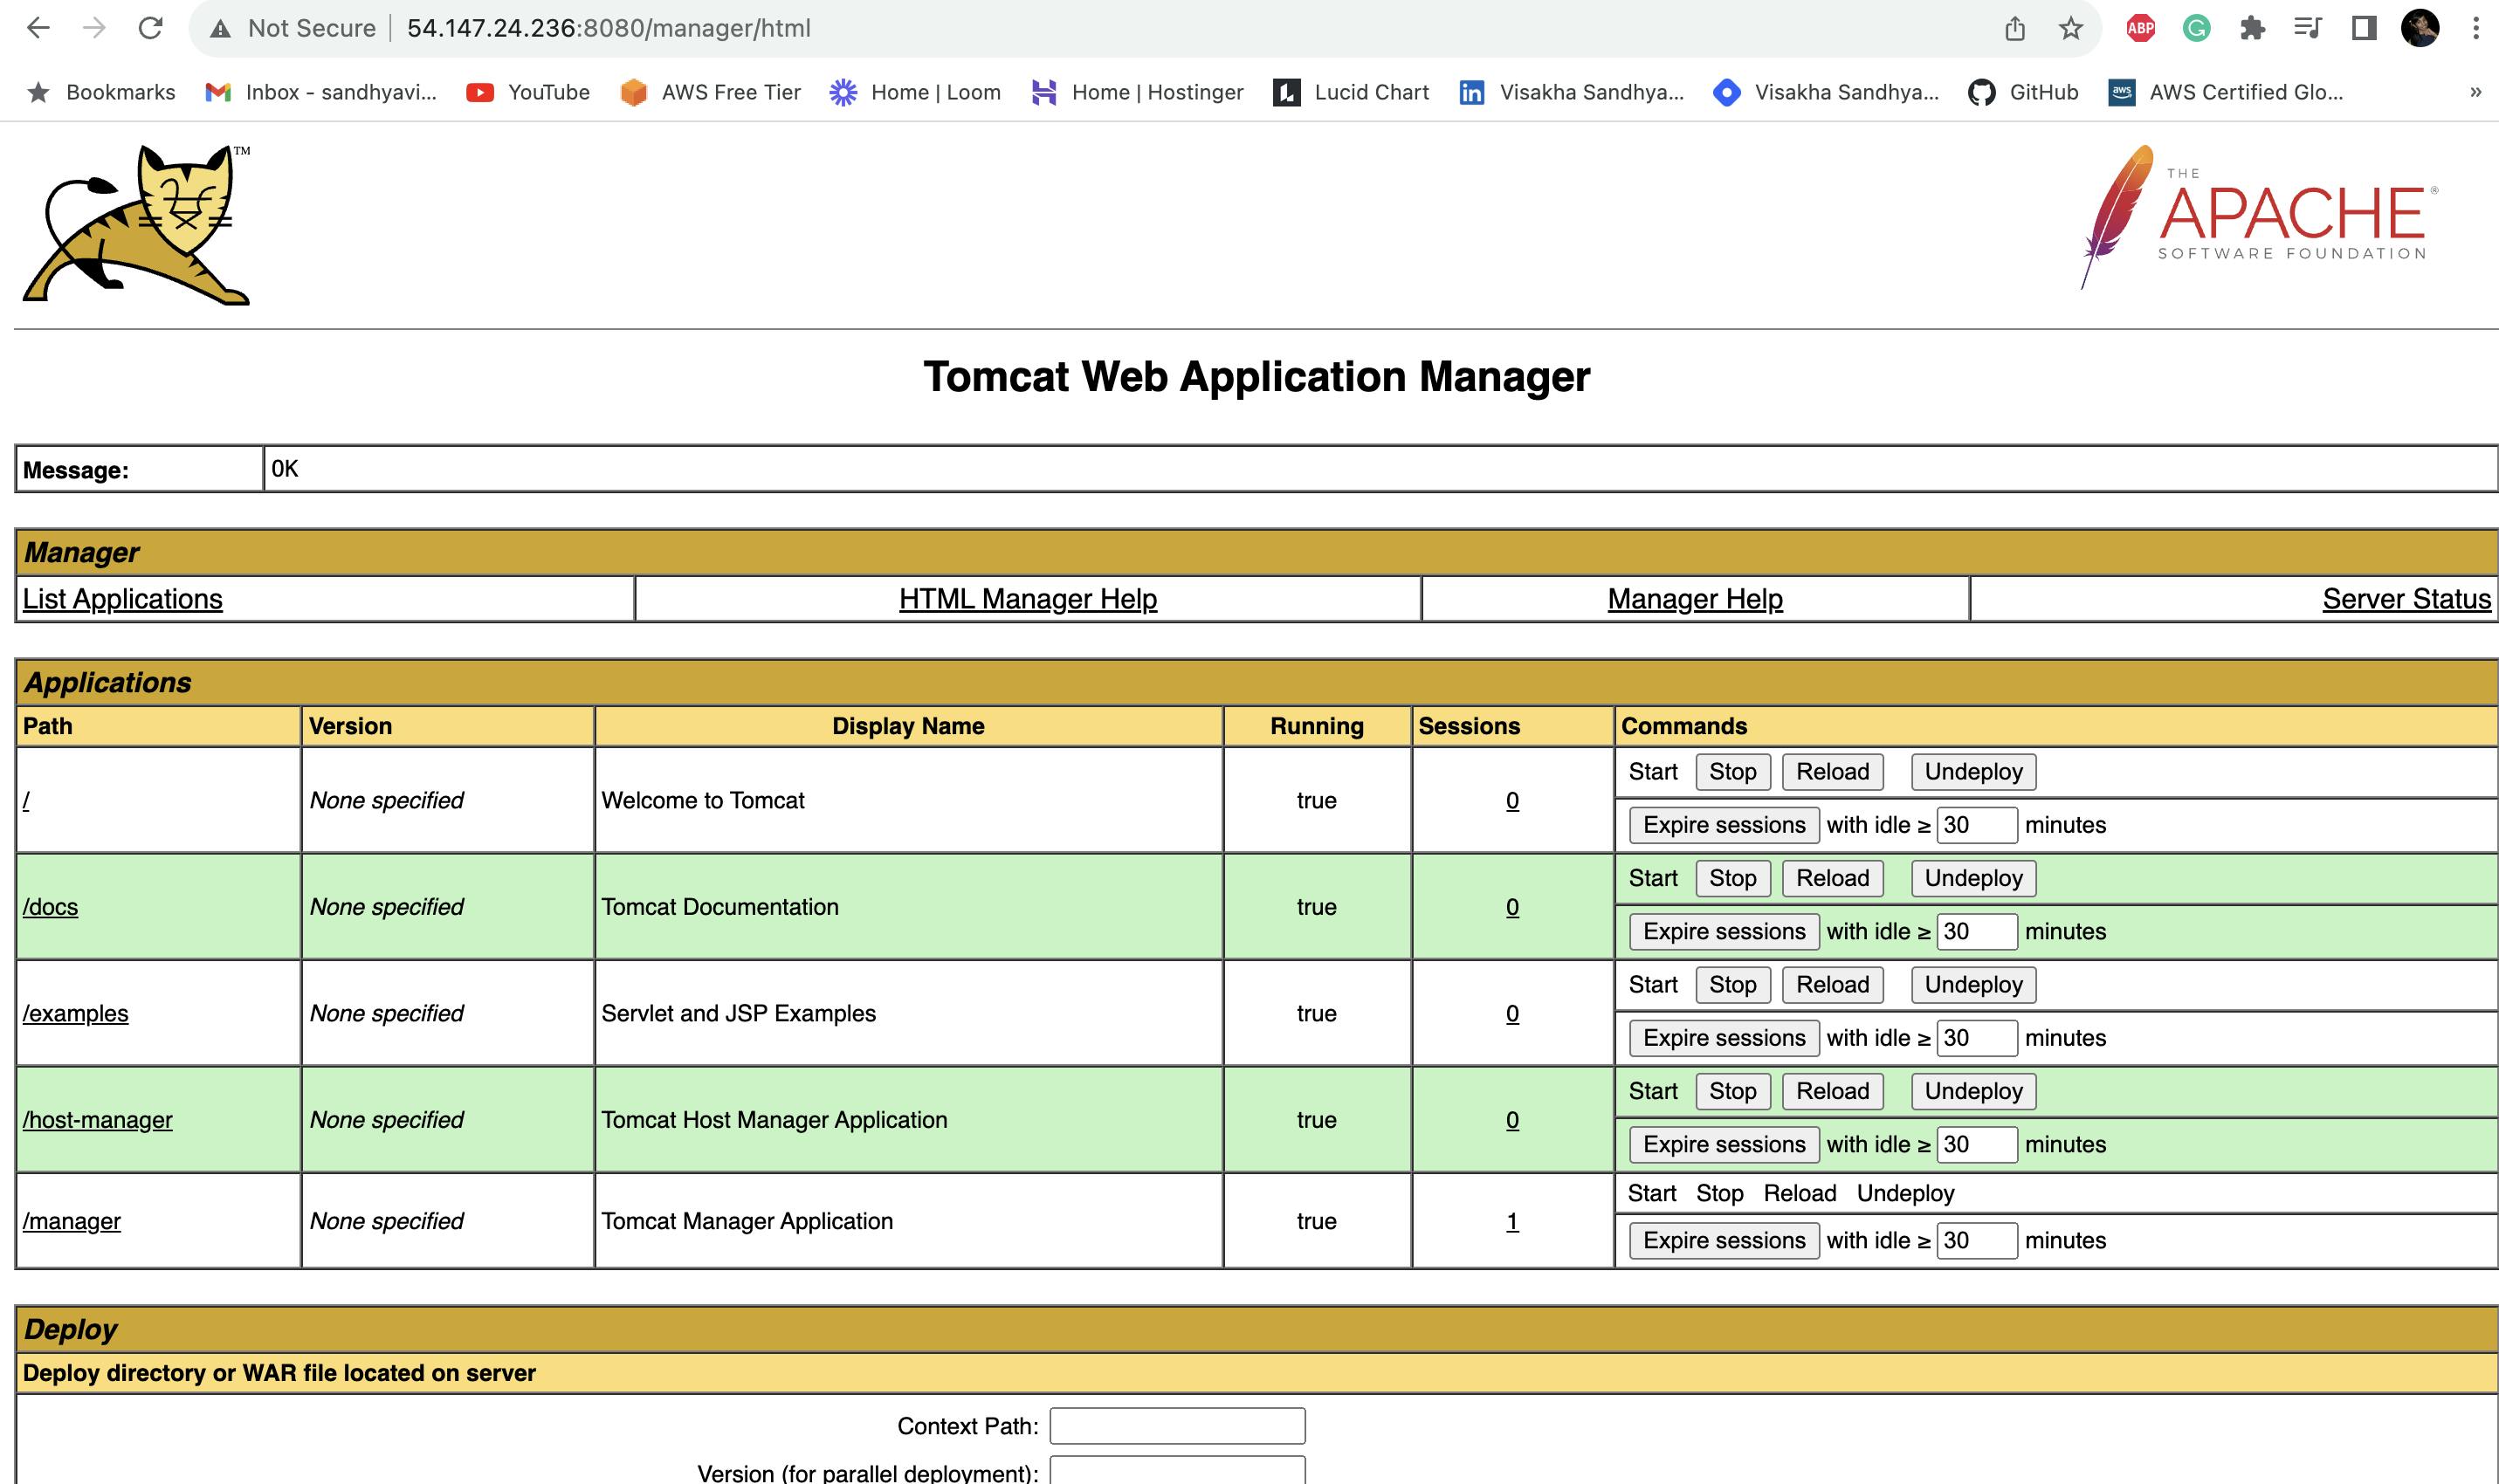
Finally, after all the changes are successfully configured, we should have access to the Tomcat Manager web application.