Understand and Implement the Build Process / Life Cycle in Maven
DevOps Series (Part-4)
Table of contents
Maven Installation
Maven is a Java tool, and therefore you must first install Java to proceed with Maven installation. In my case, I have used an Ubuntu EC2 instance, and the commands used to install Java are
sudo apt update
sudo apt install openjdk-17-jdk
To verify that Java is installed correctly use the following command to see the Java version.
java -version
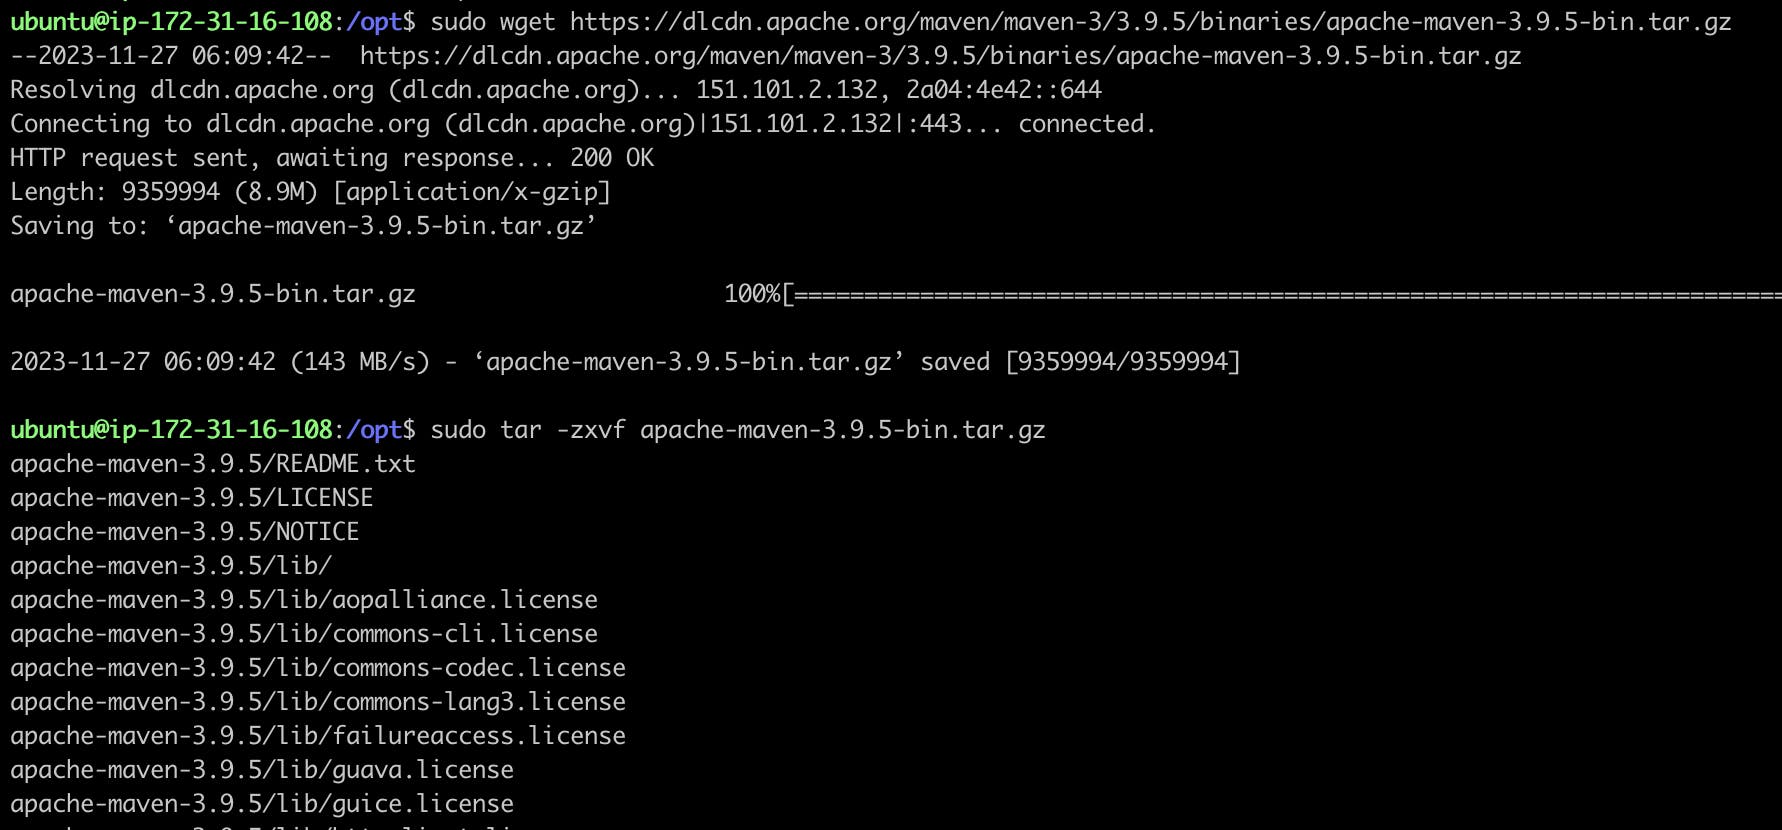
To install Maven, first change the directory to '/opt' which is a common directory to store software installations, then using the 'wget' command, download the latest version, and extract the file using the 'tar' command.
cd /opt
sudo wget https://dlcdn.apache.org/maven/maven-3/3.9.5/binaries/apache-maven-3.9.5-bin.tar.gz
sudo tar -zxvf apache-maven-3.9.5-bin.tar.gz

Set up environment variables and add the following lines in the shell configuration file .bashrc using a text editor.
export M2_HOME=/opt/apache-maven-3.9.5
export MAVEN_HOME=/opt/apache-maven-3.9.5
export PATH=${M2_HOME}/bin:${PATH}
To apply changes made to the configuration file, use
source ~/.bashrc
Now using 'mvn -version' command, we should be able to see the latest version of Maven installed successfully.
Generating the Project
mvn archetype:generate : Maven uses the 'mvn archetype:generate' command to create a new project based on an archetype, which is an existing template. Project templates called archetypes specify a Maven project's basic setup and organization. This command will provide you with the necessary information and walk you through the process of choosing an archetype interactively.
mvn archetype:generate

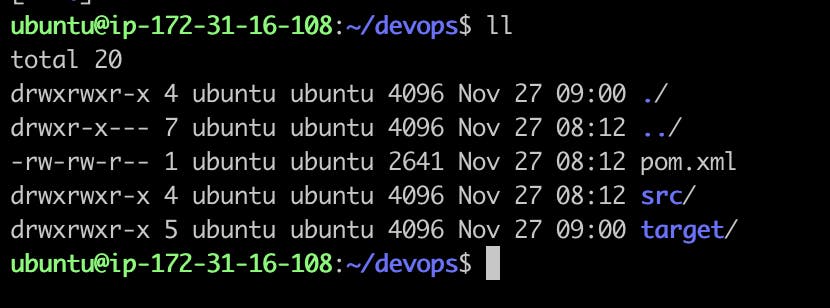
In my case, I have given artifactID as devops which basically stores my source code in a folder called devops. When we generate a new project with a specified directory, it creates a standard project structure with a source code directory 'src' and a 'pom.xml' file.
The generated project gives you a place to start, and you can edit the source code and pom.xml to fit your project's unique needs.

Maven's Build Lifecycle
Step 1-mvn compile : We can see that, we have a simple "Hello world!" program in the source code directory.
A Maven project's source code is compiled using the mvn compile command. Upon executing this command, Maven searches the src/main/java directory for the source code, compiles it, and stores the resulting bytecode (.class files) in the target/classes directory.

mvn compile


You should see the compiled classes in the target/classes directory after executing this command.

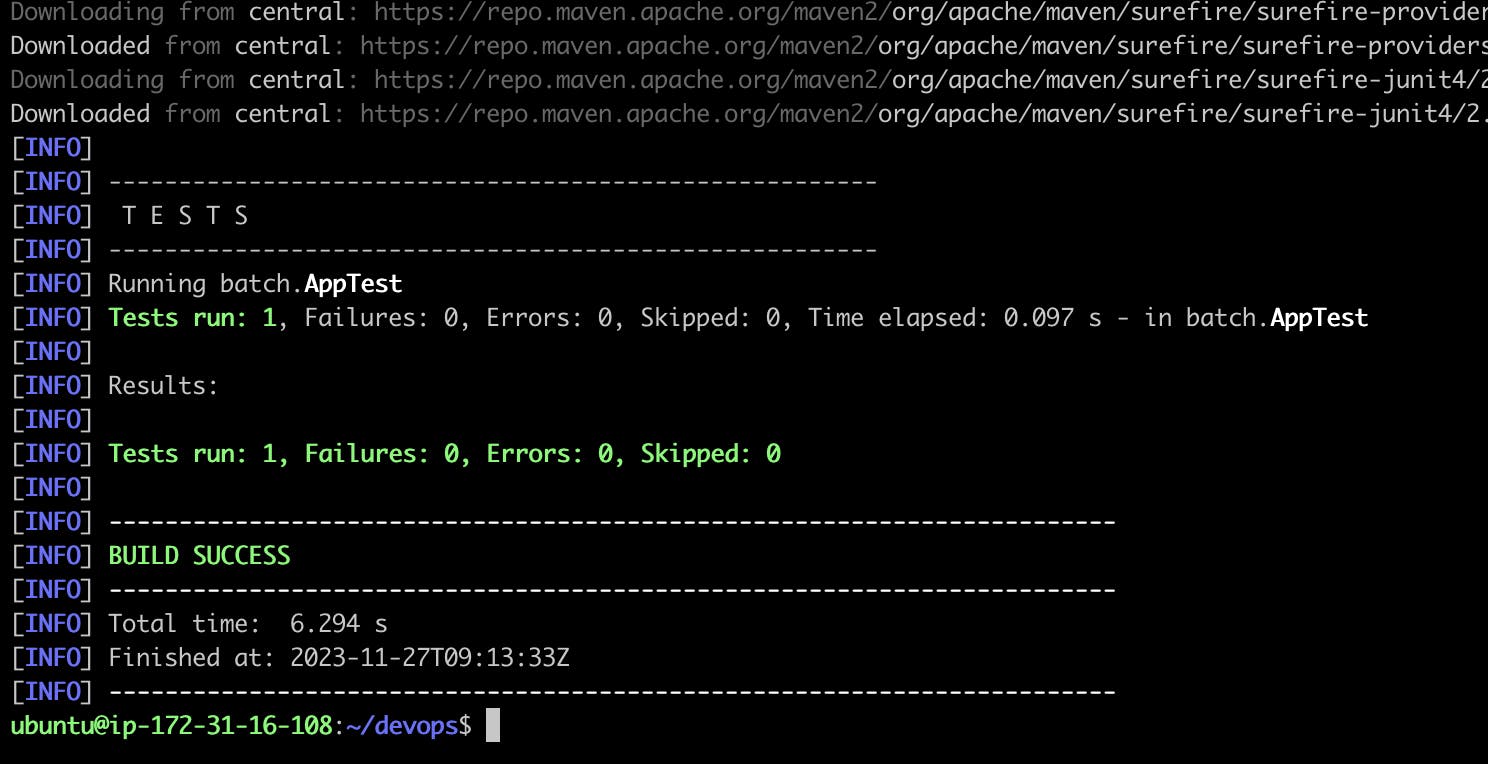
Step 2-mvn test: To run the tests in a Maven project, use the mvn test command. Upon executing this command, Maven searches the src/test/java directory for the test source code, compiles it, and then launches the tests. The console will show the test results, along with any errors or failures.
mvn test

Note: The standard Maven build lifecycle includes the compile and test phases. Maven will automatically compile the code as part of the overall build process if you execute 'mvn install' or 'mvn package' another lifecycle phase that includes the compile and test phases. We do not need to specifically run mvn compile and mvn test commands as part of our build process.
Step 3-mvn package: The compiled source code and resources of a Maven project can be packaged into a distributable format using the mvn package command. Project types vary in the format required (e.g., web projects use WAR, Java projects use JAR).
mvn package

Step 4-mvn install: The artifacts of a Maven project are compiled, packaged, and installed into the local Maven repository using the mvn install command. As a result, other local Maven projects can use the project's artifacts as dependencies.
mvn install

Finally, test the newly compiled and packaged JAR with the following command,
java -cp target/devops-1.0-SNAPSHOT.jar batch.App

The application is executed successfully!
